|
DIY 300B Amplifier
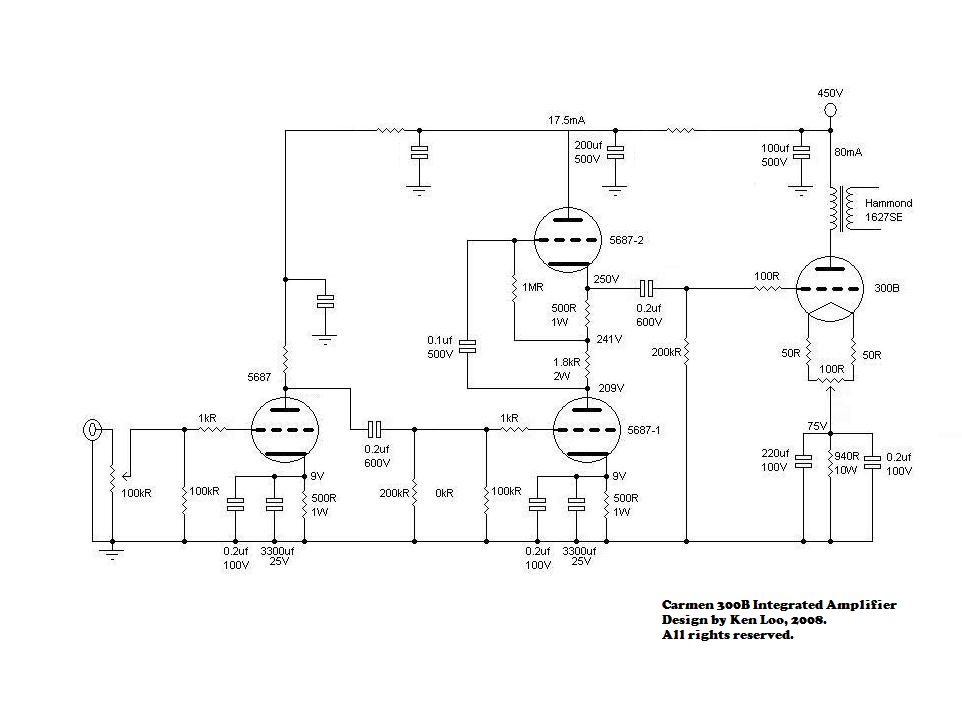
Let me introduce you to DIY 300B Amplifier! For some that followed my blog previously, this DIY 300B amplifier should look familiar. I’ve salvaged the pictures from my blog and transferred this here to be kept permanently. Click on the picture to get the clearer schematic version, for your own personal use only. Please contact me if it is for commercial use. The schematic above shows the integrated version of the Carmen amplifier. The ones shown in the pictures below are without the 5687 input stage, and therefore made it a low to medium gain power amplifier. Topology: single ended class A Input stage / pre-amplifier: resistive loaded common cathode with 5687 triode Driver stage: mu-stage / u-stage with 5687 triode Power stage: single ended transformer loaded common cathode with 300B direct-heated-triode (DHT) Rectification: choke loaded full-wave with 5U4GB rectifier tube Note 1: Mu-stage is common cathode with a constant current source on top as load. Do not worry if you do not understand the terms. We will soon explain them further in our Audio Amplifier page. Note 2: The rectification stage schematic is now shown. It is of lesser importance here and will be discussed in a full fledge DIY 300B vacuum tube amplifier page. This is just the teaser!
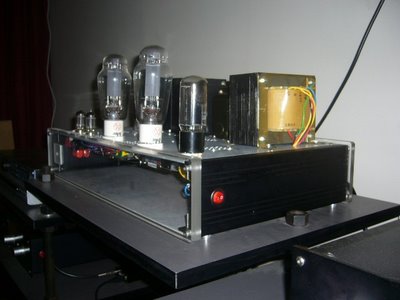
The DIY 300B amplifier circuit design and components usage are not very luxurious or exotic due to cost but it is pretty good on audiophile standards. This amplifier stands at the border line of good versus luxury before the rule of diminishing returns applies. There are many upgrade options, but I’ll just keep it as it is for now. This amplifier uses Tung-Sol 5687WA military tube as the pre-amplifier and driver stage. The power tube is JJ 300B and the power supply is done with RCA 5U4GB full wave rectifier tube. These are all good sounding tubes. The power transformer is made by Nick from P* Audio. Choke and oversize (40W) output transformers are from Hammond. Coupling capacitors are Auricaps, Orange Drops and Wima MKP4. B+ power supply capacitors are Panasonic TSHA / TSHB and TSUP high voltage variants. Each and every amplifying stage, they have their own PSU capacitor to provide the juice and decoupling towards each other. Carmen’s output power is about 7W and it could drive speakers ranging from 88dB/w/m with ease. How is the sound? Good vocals, warm, powerful, open, very low noise floor and clear. I tried it with many types of speakers and it did not disappoint me.
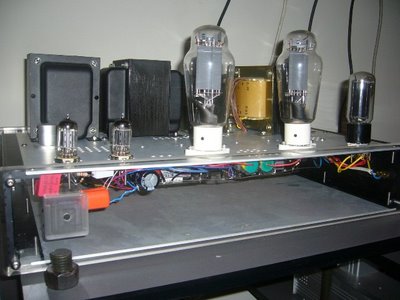
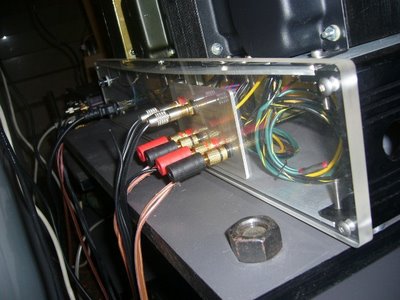
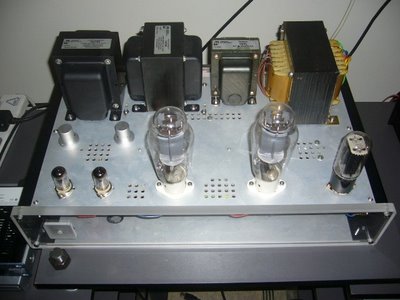
This is a very unique chassis for this DIY 300B amplifier! The front and back panel is made with 15mm thick acrylic panel! The sides are made with extruded aluminum panels and the top are 2mm thick aerospace grade aluminum. Without the help from Adrian Chin in Penang, this project would not be possible. I wish I can have another one made for my 801A (coming soon!) integrated amplifier that is in progress. I’m having a headache on this as the 801A turns out to be a very heavy and loaded DIY audio project! I wonder if he could hear me here. LOL!
All the openings are precision CNC routed and everything fit perfectly! Ventilation holes are drilled at strategic places too to promote air-flow for cooling down the system. Transformers are orientated so that they’re 90 degrees against each other. The tubes are kept a far distance from the transformers and each other too. All these will minimize crosstalk, interference, and noises from polluting each other in this DIY 300B amplifier.
One can notice that the components sit closely to the top panel. They do not sag and drop to even middle of the chassis, except some of the power or wires. None of them are glued or attached using tapes. All are secured by careful placements and wire routing. Power flows from the right and signal flows from the left of the chassis. Power and signal sections are separated far away from one another to prevent noise coupling. Current or signal flow are treated like “qi” or water. All the wiring are made point-to-point with special care taken on the current return paths. Often, DIYers ignore this and it is a BIG mistake! All grounds are not equal! I will elaborate on this topic in future in the Audio Amplifier section. A part from sonic advantage, this makes it tidy and easy for debug or upgrade in the future. The owner should be a happy lucky chap! I wish I’d sold him the other version and keep this to myself. That's all for now on this DIY 300B amplifier article! Do check out Amplified Parts for all your parts and vacuum tube needs! Ken 30/03/2011 Have you built any tube amplifiers?Do you have a great amplifier project? Share it! Return from DIY 300B Amplifier to DIY Tube Amplifier
|
